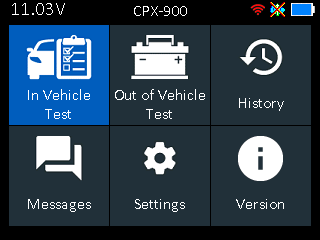
During the initial setup you will walk through the various steps to get your tool operational
Step 1
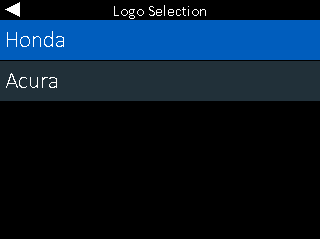
Logo Selection – This requires you to select whether you are a Honda or Acura dealer. This selection can later be changed in settings, but the selection chosen will dictate the logo shown on the printout and during the start up screen after initial setup is completed.
Step 2
WiFi Settings – This requires you to select and connect to your WiFi network of choice and is a required step during initial setup. You can select Automatic for the tool to look for available networks, or select manual if you are choosing a hidden network to connect to.

Step 3
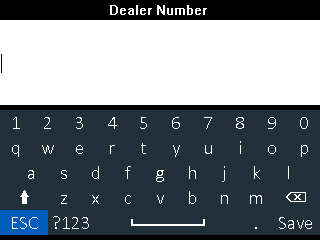
Dealer Number – Once you have connected to WiFi, you will be prompted to enter your Dealer Number.
Step 4
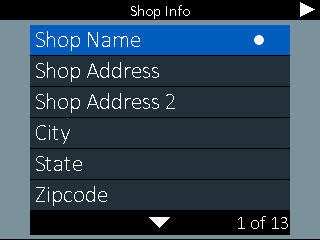
Shop Info – Once your Dealer Number is entered, the tool will display the physical location information from our database for the user’s confirmation. Please confirm by selecting the right key on the keypad. Selecting left will take you back to change the location ID entered.
Step 5
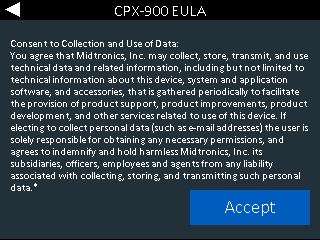
CPX-900 EULA – This is a consent to collect and use data being sent by the tool. Select Accept to continue to the Home Screen.
Step 6
Home Screen – You have completed the tool setup and are now able to use the tool for battery testing
